Applies to: Player 5.4, 5.5, 5.6 for ArcGIS Pro
If you have created a Player Future Fields analysis to examine the exploration potential of an area, you may now wish to see the results aggregated to polygons. Aggregation can be to any set of polygons, for example blocks. This article outlines the workflow required to implement the aggregation.
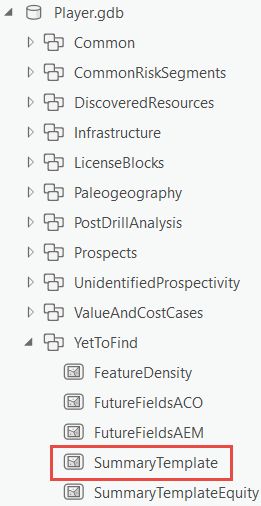
- In the ArcGIS Pro Catalog Window navigate to the project database and from the YetToFind Dataset right-click on SummaryTemplate and Copy.
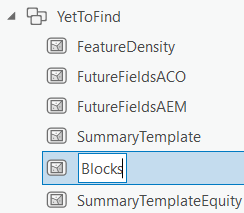
- Right-click on the YetToFind Dataset and Paste. Then right-click on the pasted feature class and Rename. Give the feature class a suitable name for a layer that will hold the imported polygons.
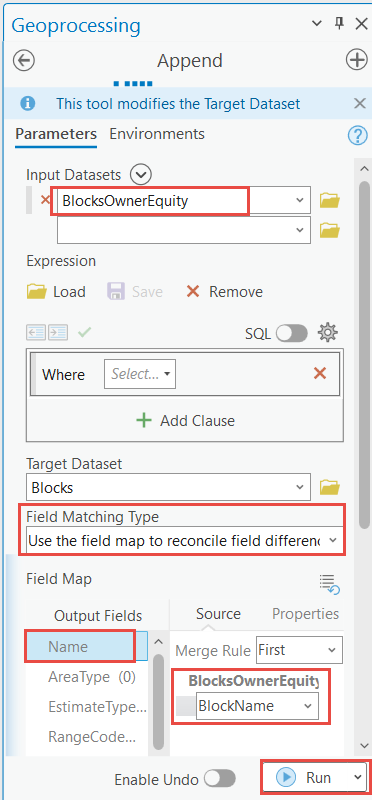
- Right-click on the renamed feature class and select Load. The Append tool will open. For the Input Dataset select the layer that has the polygons to load. In the Field Matching select 'use the field map to reconcile differences'. In the Field Mapping section select 'Add New Source'. Select the attribute field that holds the name of each polygon and Add Selected. Match this with Name in the Output Fields. Run tool.
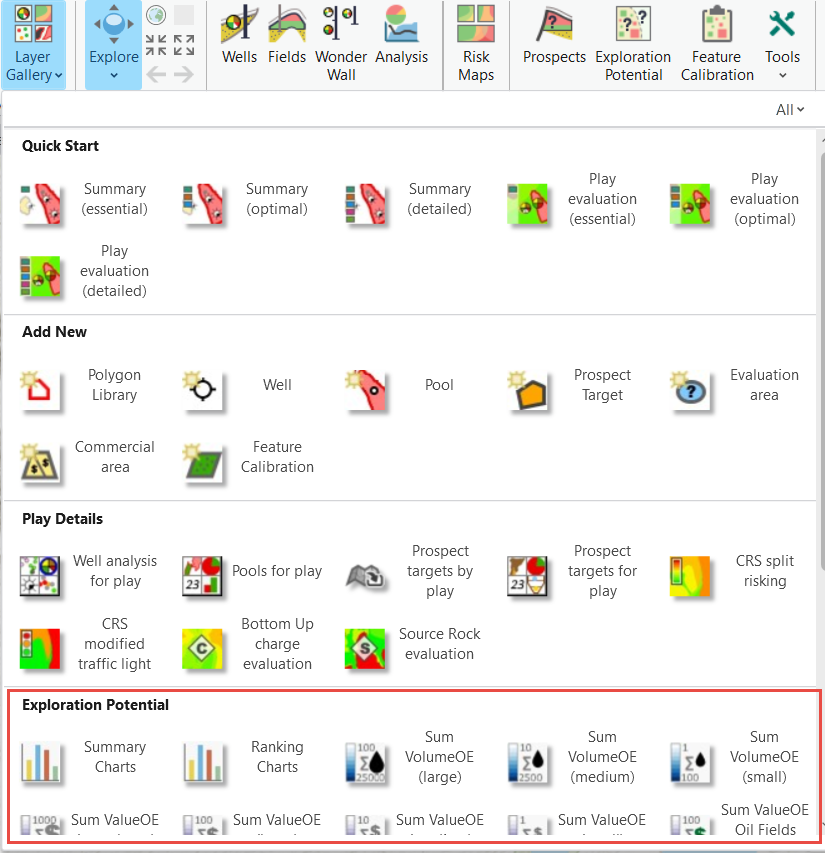
- From the Player Layer Gallery navigate to the Exploration Potential and select a suitable aggregation layer.
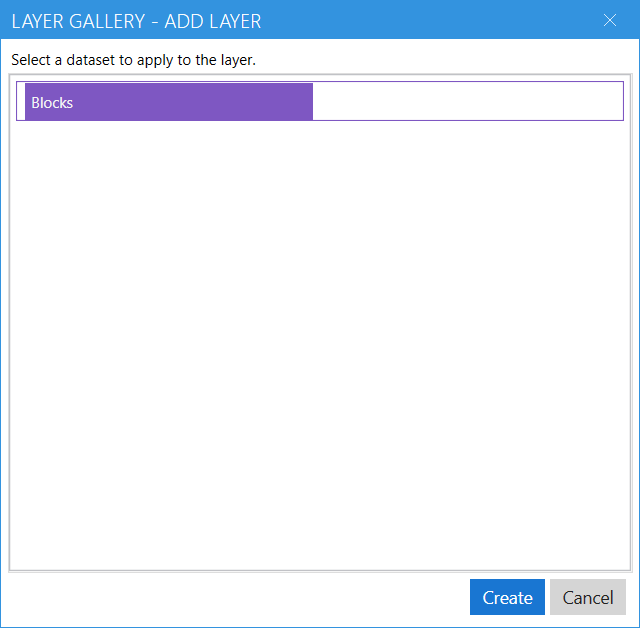
- Select the layer that has the loaded polygons from the dialog and Create
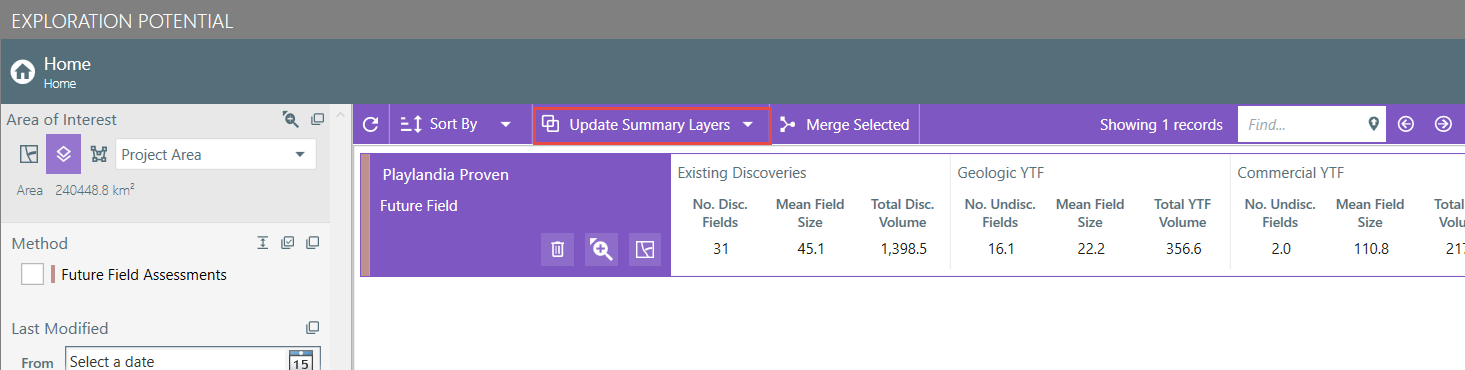
- Open the Exploration Potential dialog and select 'Update Summary Layers'
The aggregated polygons should now be visible in the project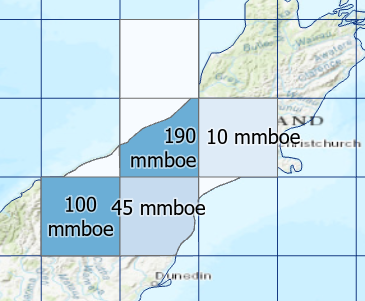
Checking Results
To visualise how the Unidentified Prospectivity has been calculated, from the Exploration Potential dialog select the Evaluation Area > Visualize Results drop-down > Summary Table > summary layer > Visualize Results
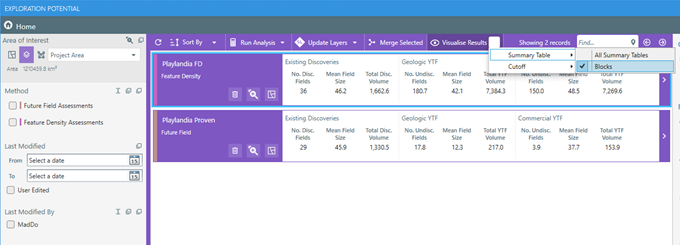
This will plot the hex points in the map. Note, no points appear where any existing fields occur.